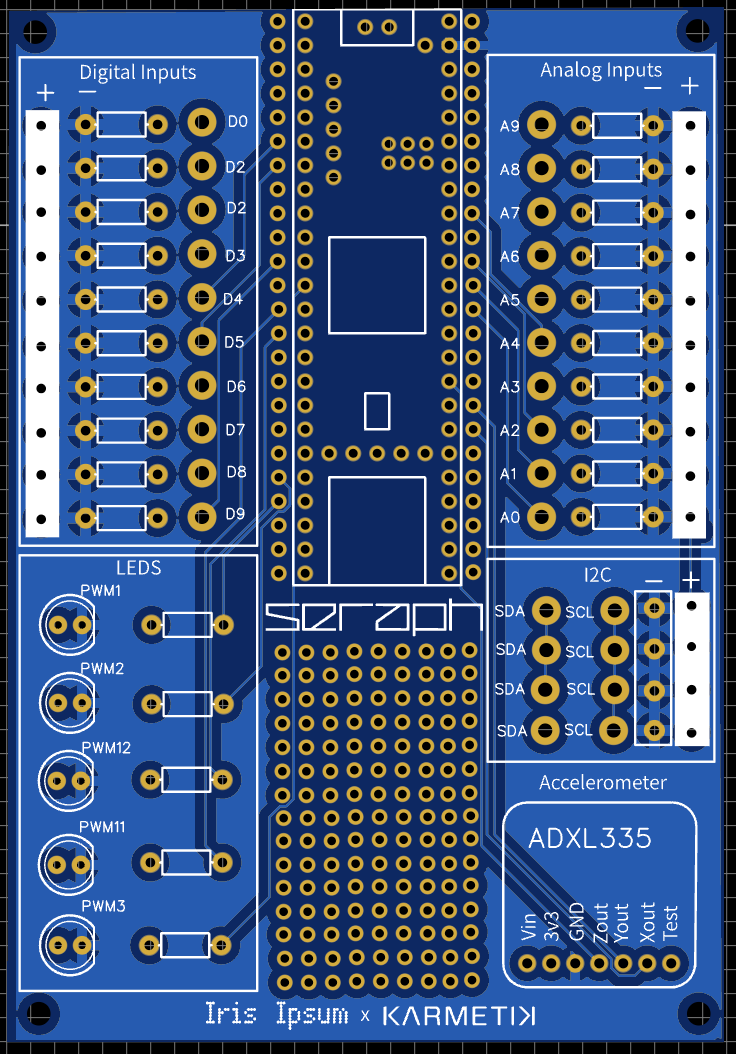
Seraph is an open-source hardware platform for rapid prototyping of interactive art and musical interfaces. Built as a daughterboard for the Teensy 4.1, Seraph makes it easy to integrate sensors, buttons, LEDs, and more—with minimal soldering and maximum flexibility.
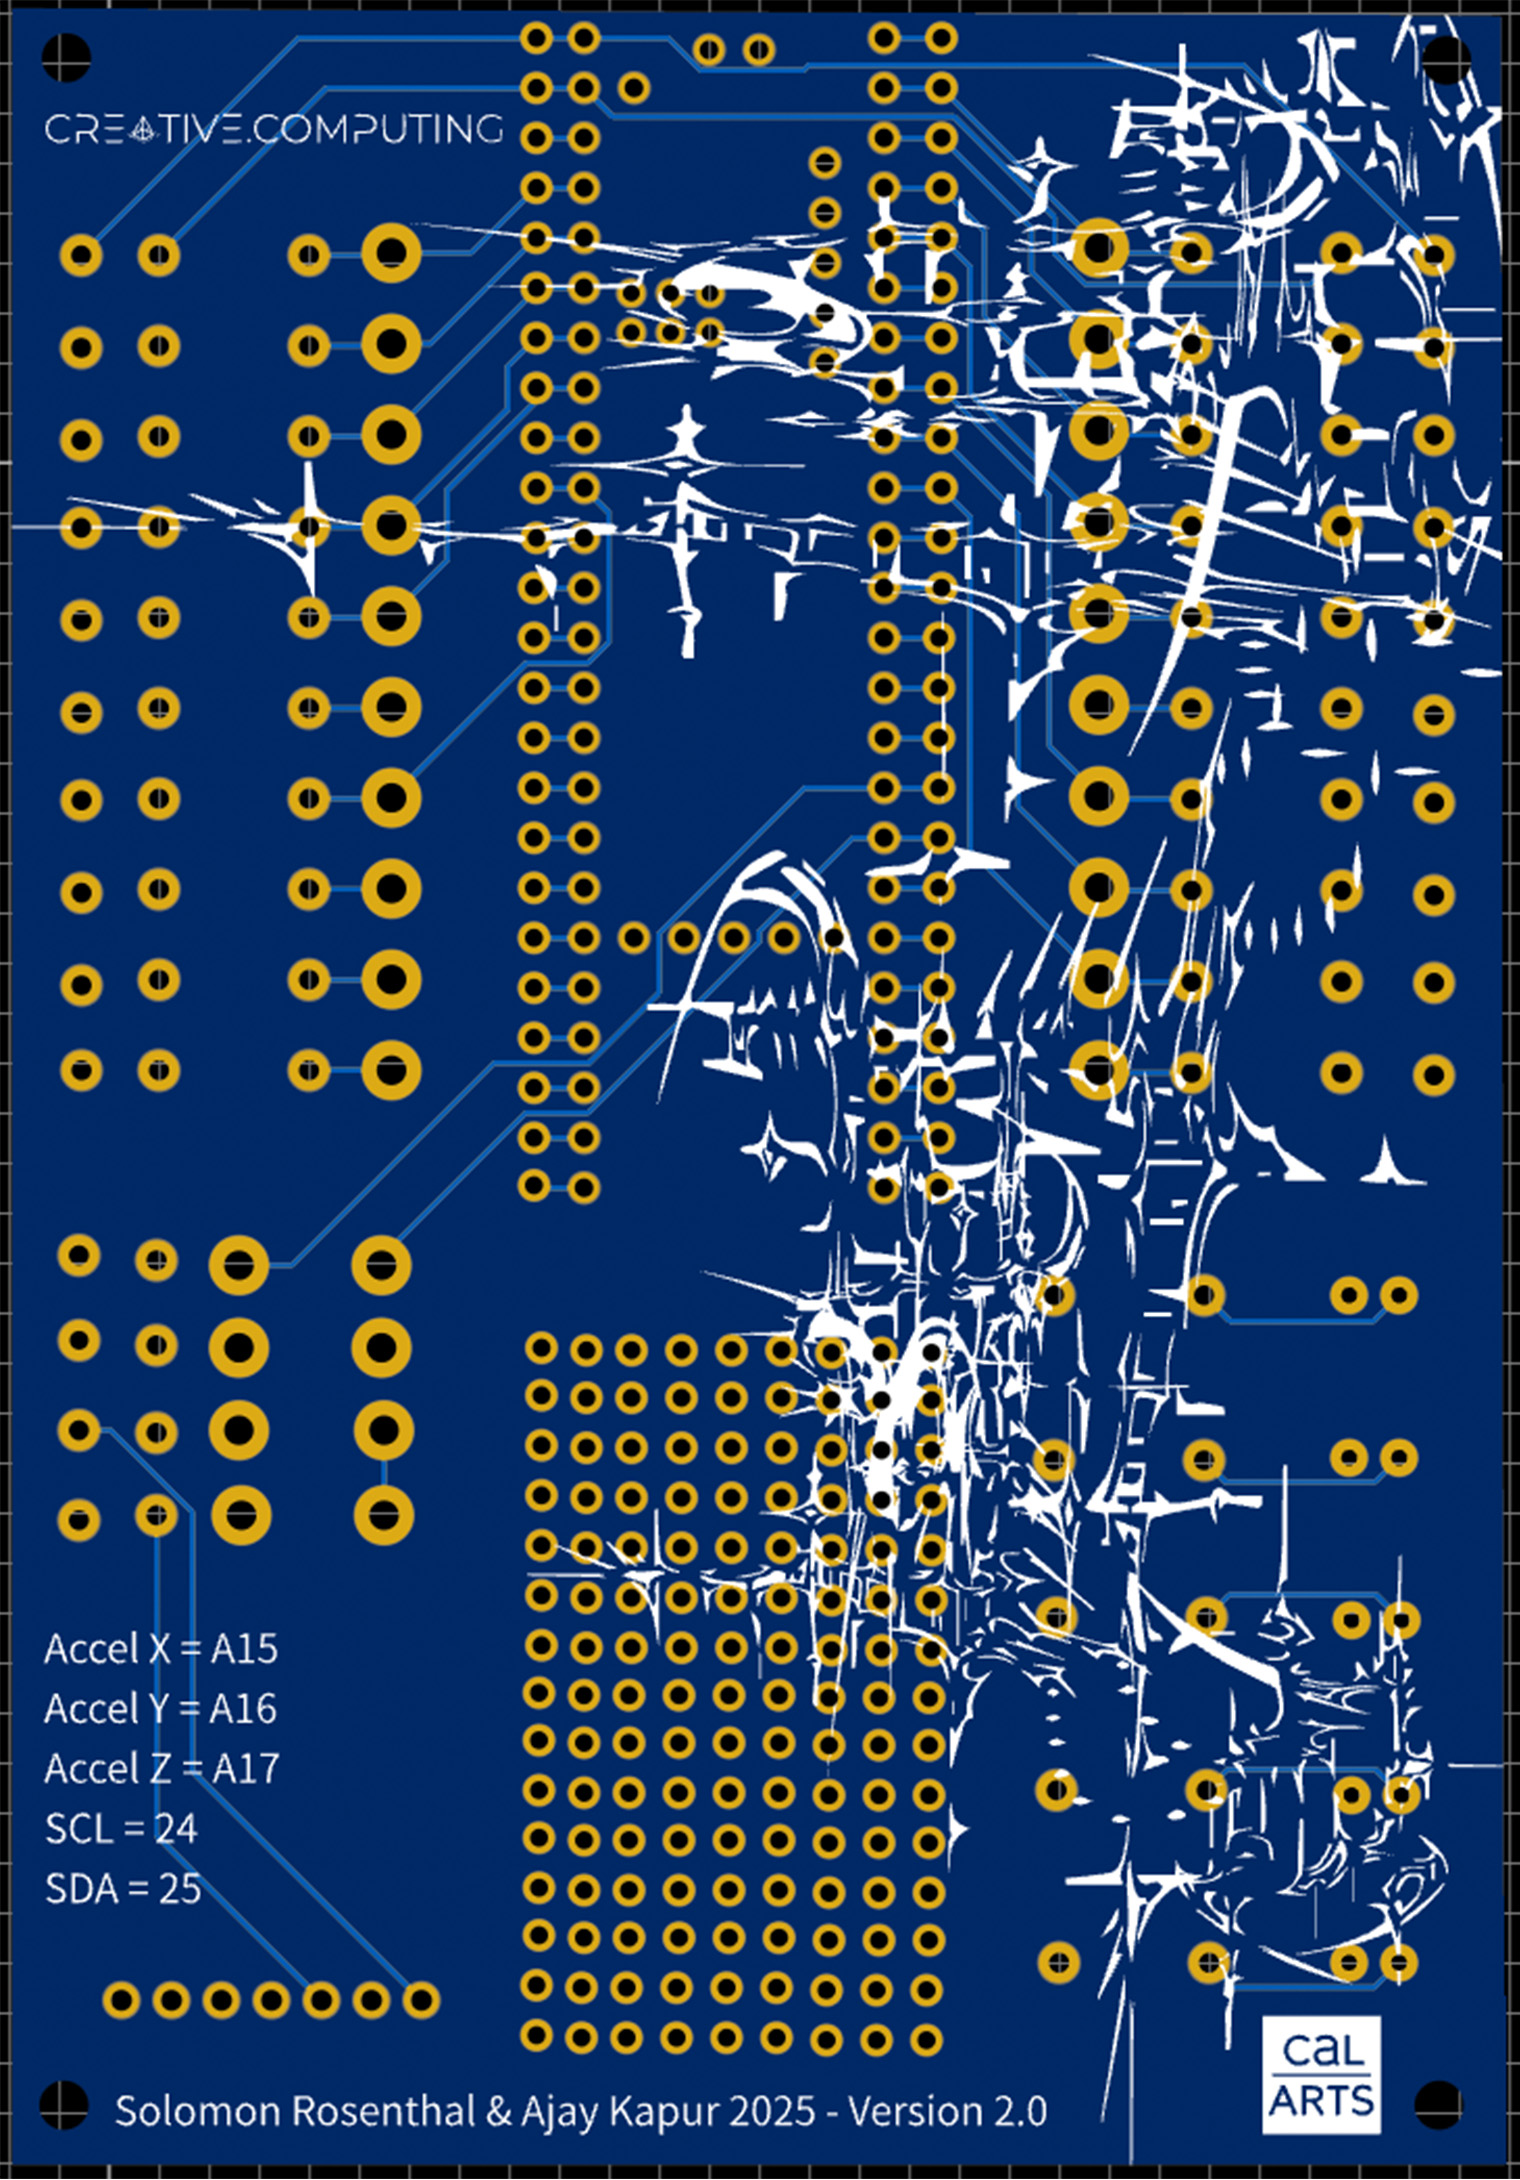
The board includes a dedicated slot for an accelerometer, enabling quick integration of three-axis tilt and motion sensing.
Developed at CalArts over several years and informed by two decades of student collaboration, Seraph represents a unified, reliable, and accessible solution for artists, educators, and creators.
Seraph is fully open source. We provide example code, schematics, and board layouts so you can fabricate it locally, adapt it to your needs, and use it in classrooms or personal projects.
If you build something with Seraph, we’d love to see it! Share your photos, videos, and stories with us—and if you publish your work, please credit the platform by citing our paper.
We’re excited to share Seraph with the community and can’t wait to see what you create.


Quick Start
-
Solder your Teensy to the board
◦ Use headers instead of soldering the Teensy directly to the PCB.
◦ This allows you to easily remove and reuse your Teensy for future projects. -
Install the required library
◦ Most of our demo code uses the Teensy USBMIDI library.
◦ Download it via the Arduino Library Manager before running the code. -
Set your board mode
◦ Ensure your Teensy is in Serial + MIDI mode in the Arduino IDE.
◦ This allows your computer to recognize it as a MIDI device. -
Upload and experiment!
◦ Flash the code to your Teensy and start exploring interactive MIDI control.
Seraph Quickstart Tutorials + Diagrams
Connecting an Analog Sensor (No Pulldown Resistor Required)
For simple analog sensors like potentiometers, which do not require pulldown resistors:
- Connect your power lead to any + (power) via.
- Connect your ground lead to any – (ground) via.
- Connect your data lead to any available analog input via, and make sure to modify your code to match the analog input you chose.

The code for this circuit can be found in the Seraph Github repository under the name Seraph_PotentiometerDemo
Connecting an Analog Sensor with a Pulldown Resistor
For sensors such as LDRs (Light Dependent Resistors) or FSRs (Force Sensitive Resistors) that do require a pulldown resistor:
- Connect your power lead to any + (power) via.
- Connect your data lead to your desired analog input via, and make sure to reflect this choice in your code.
- Place your pulldown resistor in the allocated resistor area on the PCB, and make sure it is in the same row as your chosen analog input. This connects the sensor’s data line to ground. The built-in resistor footprint on the PCB makes this easy and clean.

The code for this circuit can be found in the Seraph Github repository under the name Seraph_FSRDemo
Connecting a Digital Sensor
For basic digital input devices like buttons that don’t require pullup or pulldown resistors:
- Connect one lead of the button to any - (ground) via.
- Connect the other lead to the desired digital input via, and make sure to reflect this choice in your code.
- To connect an LED to this circuit, simply place an LED in one of the allocated LED slots, and place your resistor in a resistor slot in the same row.

The code for this circuit can be found in the Seraph Github repository under the name Seraph_ButtonDemo
Connecting an I²C Sensor
To connect an I²C sensor (such as IMUs or environmental sensors):
- Connect the SDA (Data) pin on your sensor to an SDA pin on Seraph.
- Connect the SCL (Clock) pin on your sensor to an SCL pin on Seraph.
- Connect the Power (VCC) pin on your sensor to a + (power) via.
- Connect the Ground (GND) pin on your sensor to a – (ground) via.